Source:https://medium.freecodecamp.org/how-to-develop-consume-and-publish-an-angular-library-to-npm-2ed608a03c6c
Angular is a really popular and powerful JavaScript Framework on which you can built Web Apps to serve millions of daily users. It’s an open source framework by Google and anyone can collaborate. Likewise, there are thousands of packages for Angular available as plug-and-play on NPM. Here in this article we’re gonna make one too 😃.
We will start this article as a tutorial to develop an Angular Component Library, consume it within an Angular CLI project, and then we’ll publish it to the NPM. This will be a step-by-step guide.
Then, we will convert that same Angular Library to Angular Pipe and we will go in more detail as to when to “use Pipes over Modules” and how pipes can reduce the load over the application. Wanna target only this part? Navigate three quarters of the way down in the article.
Pipes are much lighter, when compared to a third-party libraries as the cost of JavaScript is way too high on the client side when handled inefficiently. Addy Osmani explains this in his latest article.
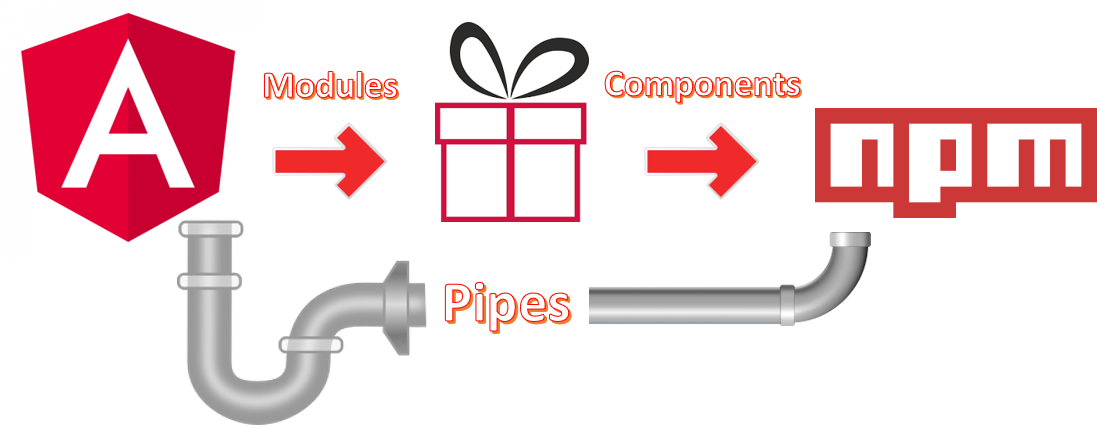
This article will target two major domains: Angular Component and Angular Pipes (and when they are worth using).
Angular Component Library
We will create a small component library that will format large numbers into human readable format. For example: current metrics shows that Twitter has “55138719 Followers” and our library will format it as “55.1M Followers”.Isn’t this more intuitive and user-friendly? 😉 Some more examples:
- 37574 -> 37.5K
- 1222130 -> 1.2M
- 12414770 -> 12.4M
- 19121364128 -> 19.1B
Setting up the Project
We will be using Angular CLI as a base to our development as it’s more convenient than cloning the Angular Repo from Github. Plus we will be benefiting from the scaffolding and auto generation of modules, components and pipes. *Later, we will use this same project for the development of our component and pipes and will also use it as a Sandbox to test our Library.
Let’s start by installing the CLI globally and then initiating the Project.
npm install @angular/cli -g
ng new ng-number-formatter
Now that we have a basic structure of the project, we can navigate to the project folder “ng-number-formatter” and serve the Project.
ng serve // Navigating to `localhost:4200`
Initiating the Modules/Components for the Library
Now that our most simple Angular App is up and running, let’s add our custom modules and components to format numbers in a human readable format.
ng generate module modules/ng-number-formatter
ng generate component modules/ng-number-formatter
This auto-generation will create the mandatory files for the development of Angular Modules. In our case, these independent modules are meant to be isolated from each other so that we can export them as stand-alone Angular Libraries. It’s also good practice to make each module decoupled from every other just like the concept of MicroServices.
Modules in Angular can be considered as configuration files that will help reference our components to be a part of an Angular Project. These Modules are based on Components which actually makes our application productive and gets it up and running.
Number Formatter Module
This Module file is self expressive and in it we can see the declarations and exports of our library.
@NgModule({
    imports: [
        CommonModule
    ],
    declarations: [
        NgNumberFormatterComponent
    ],
    exports: [
        NgNumberFormatterComponent
    ]
})
Number Formatter Template
Now open the
ng-number-formatter.component.html file within the app/modules/ng-number-formatter folder and add the required Html spanTag. For the sake of styling, we can manipulate the content of the ng-number-formatter.component.css file, but for now we will ignore that and let things stay as simple as possible.<span>{{ngNumber}}</span>
Here, the variable
ngNumber is defined within the associated ng-number-formatter.component.ts component. As we will be getting the number in a string format from some parent component (in our case that would be app.component.ts — we will show how these components are linked), we will format that number in into human readable format with our ng-number-formatter.component.ts. Then we will display it via the Html template to which we just added a Span Tag.Number Formatter Component
Open the
ng-number-formatter.component.ts file within the same app/modules/ng-number-formatter folder. You can see that there’s already basic code present for the Component. The template which we just modified is already linked in our component.@Component({
selector: 'ng-number-formatter',
inputs: ['ngNumber'],
templateUrl: './ng-number-formatter.component.html',
styleUrls: ['./ng-number-formatter.component.css']
})
Here,
selector: 'ng-number-formatter' is a custom tag which we, as the consumer of our library, will be needing to reference our Component. Then inputs: ['ngNumber'] is with the two contexts.
In our “ng-number-formatter component” (the callee) it’s treated as a variable that will accept the incoming number string. On the other hand in the “app.component.ts” (the caller), it will be treated as a property to our selector which will send the value.
Then
templateUrl: '.ng-number-formatter.component.html' and styleUrls: '.ng-number-formatter.component.css' are the ones linking the template.
Update the file with the required logic for the number conversion. Next our template doesn’t need to be in a separate file. So we can remove that and directly embed it to our component as
Consuming the Angular Component Library
template: '<span>{{ngNumber}}</span>'. The following Gist shows the complete contents of our component. Compare the changes which you made and then we will proceed to the next steps.Consuming the Angular Component Library
To consume any Angular Library, first you need to get referenced within the Module and then the usage of its selector
ng-number-formatter (as mentioned in our component’s selector tab) in the template.
There’s only one difference when consuming a third party library in a project and when used as a sandbox.
1. Since our library is not yet published and listed in the NPM Directory, we need its full path to reference within the Module.
import { NgNumberFormatterModule } from './modules/ng-number-formatter/ng-number-formatter.module';
2. And when our library gets published and listed in the NPM Directory, it will be with a much simpler reference link. Like this:
import { NgNumberFormatterModule } from 'ng-number-formatter';
And here’s our custom Tag to consume our brand new library:
<ng-number-formatter [ngNumber]="12414770"></ng-number-formatter>
// Resulting number into the Format much more convenient "1.2M"
Packaging and Publishing it to the NPM
Now that we have our independent Module developed and tested within the Sandbox project, we are good to go. First of all, the good part is that this Module is so simple and minimal in nature that it doesn’t have any other dependencies. Second, it’s good that our module is totally isolated and is easily plugged to the our component in the sandbox which makes it ready to be separately packaged and published.
The next step is to make it open to the world so others can download and use it to format numbers in their Angular Applications.
To get started with the packaging and publishing of our Number Formatting Module, we need a Packager that will transform this Module into a Library identifiable as an NPM Package. For that we choose “ng-packagr” which Transpiles your libraries to Angular Package Format. It is an NPM Package built as a wrapper over “Roll-Up” which is a module bundler that compiles code into Libraries and Applications.
Now let’s continue with our development process by installing our packager within the context of our Sandbox Project. We will be saving it as a dev-dependency as we only need to compile our module as a Library identifiable to NPMjs.com.
npm install ng-packagr --save-dev
The next step is to add two files manually in our project directory, namely
ng-package.json and public_api.ts.ng-package.json is to configure ng-packgr and point out the public_api.tsfile to get ready for the packaging. Here’s the content:{
"$schema": "./node_modules/ng-packagr/ng-package.schema.json",
"lib": {
"entryFile": "public_api.ts"
}
}
public_api.ts is the file that will be composed of one single line exporting the recently developed Angular Module.export * from './src/app/modules/ng-number-formatter/ng-number-formatter.module'
Once the two files are created, we will register the
ng-packagr command in the package.json file of our Application Project and will also toggle the property "private": false for the NPM Directory. Go ahead and update your files so that we can continue for the publication."scripts": {
"ng": "ng",
"start": "ng serve",
"build": "ng build",
"test": "ng test",
"lint": "ng lint",
"e2e": "ng e2e",
"packagr": "ng-packagr -p ng-package.json"
},
"private": false
Now that
ng-packagr is registered as a command, we can continue packing our module as a package recognizable for NPM Directory. This compiles our TypeScript-based Module into executable JavaScript in the dist folder. Next we navigate to the dist folder and run the final packaging as a standalone component library.npm run packagr
cd dist
npm pack
That’s all on your local machine — now is the time to make it public. For that we need an account on https://www.npmjs.com/. Go ahead and signup and then we will run the last two commands for our Library to be publicly available 🏆.
Login to NPM via Terminal / Command Line Tool:
npm login
Publish to NPM:
npm publish
Viollllàaaaaaaaaaaaaaaaaaaaaaaaa!!!

Your package is up and available just like this one of mine. :)
How others will consume your Library within their Project
This will happen the same way as in our
app.component.ts file of our Sandbox Project, but in fact it’s a bit simpler. We only need the simplest module referencing directly with the name. The following three steps need to be executed one after another: Installation, Importing the Module, using the Selector.// Installationnpm install ng-number-formatter --save
// Importing the Moduleimport { BrowserModule } from '@angular/platform-browser';
import { NgModule } from '@angular/core';
import { AppComponent } from './app.component';
import { NgNumberFormatterModule } from 'ng-number-formatter';
@NgModule({
    declarations: [
        AppComponent
    ],
    imports: [
        BrowserModule,
        NgNumberFormatterModule
    ],
    providers: [],
    bootstrap: [AppComponent]
})
export class AppModule { }
// Selector<ng-number-formatter [ngNumber]="1222130"></ng-number-formatter>
For more, find the “ng-number-formatter” Package in the NPM Directory!

No comments:
Post a Comment