Src:https://medium.com/@gilfink/building-a-chrome-extension-using-react-c5bfe45aaf36
Last week I finished building a chrome extension for a customer. The extension was built with React as a view engine to render a popup. So I thought to myself — wouldn’t it be nice to write about how to build your own extension with React?
In this post I’m going to guide you through the process of building a simple Chrome extension using React. After this intro you will have a starting point to continue and build your own extension functionality.
So Let’s get started.
Creating The Project
The first thing you will want to do is to create the extension project. We will use create-react-app project to generate the project. If you haven’t installed create-react-app, just run the following code in your command line:
npm install -g create-react-app
Note: I’m assuming you already installed node and npm on your machine.
Once you have create-react-app on your machine, generate a new project. In the command line, run the following code:
create-react-app my-extension
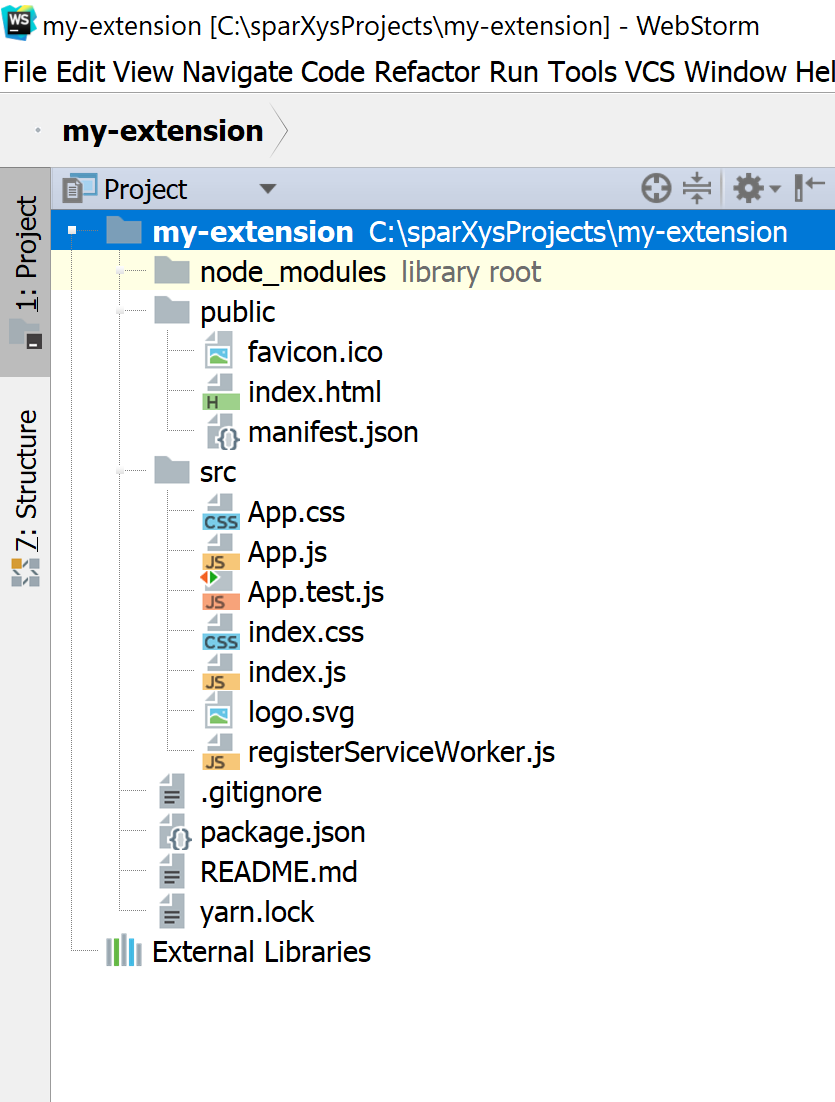
create-react-app will create a new project with the name my-extension which includes all the needed React boilerplate to run a new project.
Open the new generated project in your favorite IDE and let’s move on.
Adding The Manifest
Chrome extensions need to have a manifest.json file in their root folder. That manifest tells Chrome how to create the extension and how to run it. In the manifest you will configure things like logo, name and description of your extension. Since you will want to make the manifest as part of your build root folder, I suggest to put it in the project’s public folder. In create-react-app the public folder is just copied as is to the build folder when you compile the project. Other things that I suggest to put in the public folder include content and background scripts and assets.
Note: In this post I won’t discuss what are content and background scripts so I encourage you to read about them.
create-react-app already includes a manifest.json file in the public folder. override the file with the following manifest:
{
  "manifest_version": 2,

  "name": "My Extension",
  "description": "This extension is a starting point to create a real Chrome extension",
  "version": "0.0.1",

  "browser_action": {
    "default_popup": "index.html",
    "default_title": "Open the popup"
  },
  "icons": {
    "16": "logo-small.png",
    "48": "logo-small.png",
    "128": "logo-small.png"
  },
  "permissions": [
  ]
}
What is included in this manifest.json?
We have the manifest version, name and description which are self explanatory. The browser_action section tells Chrome that we will have a popup which will run the index.html file. The icons will be used to present the the icon in the extension tray and in Chrome extension list. Last but not least, the permissions array will include all the permissions that the extension will need to operate successfully. Currently it is left empty.
We have the manifest version, name and description which are self explanatory. The browser_action section tells Chrome that we will have a popup which will run the index.html file. The icons will be used to present the the icon in the extension tray and in Chrome extension list. Last but not least, the permissions array will include all the permissions that the extension will need to operate successfully. Currently it is left empty.
Note: For further reading about the extension manifest format I suggest to take a look at the manifest file format.
You can add any image, which is 128 pixel wide, to the public folder with the name logo-small.png (or change that name in the manifest to your logo image name).
Now that we have the manifest and logo, you can compile the project using the following code in your command line:
npm run build
Adding The Extension to Your Chrome
In order to check your new extension, you will have to install it in Chrome. You can do the following to install it:
In Chrome, open the extension list by opening a new tab and running the following URL:
chrome://extensions/
Press the Load unpacked extension… button.
Browse to the build folder and press the OK button.
Browse to the build folder and press the OK button.
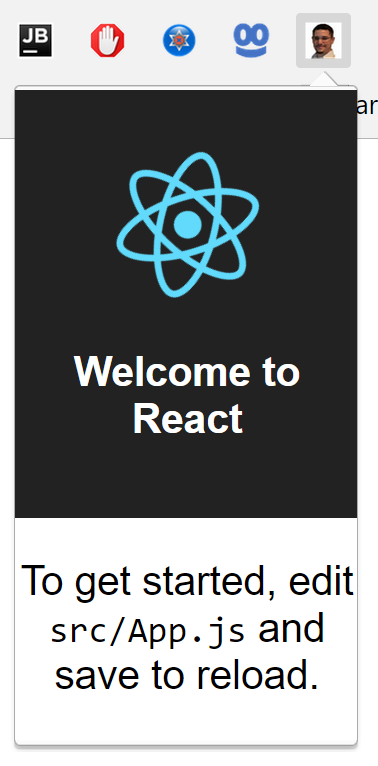
If everything goes right, you will have your extension installed in Chrome.
Congratulation you have built your first Chrome extension. Later on, if you have a developer account in the Chrome extension store you will be able to load it to the store and distribute it publicly.
Update
Latest versions of Chrome block inline scripts in Chrome extensions. Since create-react-app build in version 2 creates an inline script to run the app you might stumble upon an error message which is related to Content Security Policy (CSP) in the console. In the error message you will get a sha value which can be added to the manifest.json file to solve the problem. This is an example of the manifest I used (the sha key is marked in italic):
{
  "manifest_version": 2,

  "name": "My Extension",
  "description": "This extension is a starting point to create a real Chrome extension",
  "version": "0.0.1",

  "browser_action": {
    "default_popup": "index.html",
    "default_title": "Open the popup"
  },
  "icons": {
    "16": "logo-small.png",
    "48": "logo-small.png",
    "128": "logo-small.png"
  },
  "content_security_policy": "script-src 'self' 'sha256-GgRxr...'; object-src 'self'",  "permissions": [
  ]
}
Summary
In this post I showed you how you can start building a Chrome extension with React as it’s view engine. I used create-react-app and some simple manifest manipulations to get started. Of course developing an extension is more than just building an “hello world” like view but this is something that deserves it’s own post.
In the next two posts in this series I’m continuing to develop the extension. You can read the follow up posts here:


No comments:
Post a Comment